COMO FAZER UM COPTIC STITCH
COMO FAZER UM SKETCH BOOK PASSO A PASSO
CADERNO DE CAMPO
ENCADERNAÇÃO EM BLOCOS
FAZER A CAPA
FAZER uma publicação a baixo custo
Fanzine: como fazer uma publicação independente e de baixo custo from Associação Imagem Comunitária on Vimeo.
Wood bound sketch-books
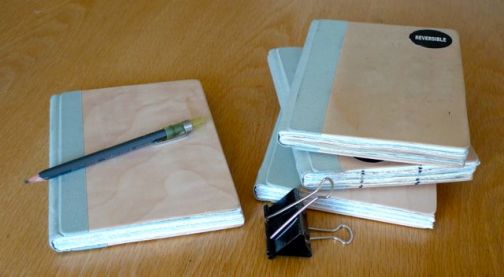
A practical post today, revealing the depths of tinkering and making that sketching has led me to. So please enjoy my ten-step recipe for making plywood covered sketchbooks that are perfect for urban sketching.
The key to their suitability is the binding, which allows them to lie completely flat when open…

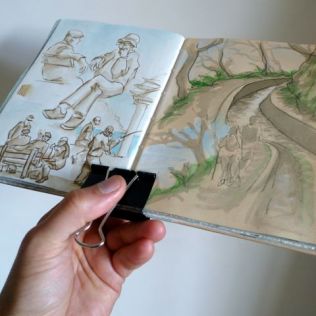
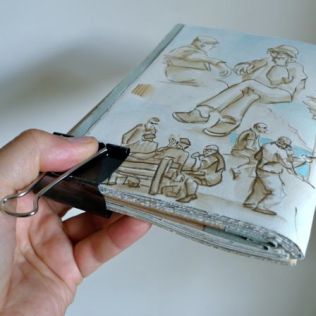
…and to fold completely back on themselves without exploding. The plywood covers are light, but very rigid, so when open or folded completely back you can use a single clip to create a highly stable double or single page sketching surface; no extra board/table etc is needed. This is very useful when sketching in town and especially when standing up! No more cramped fingers trying to hold the book both open and steady.

The plywood is lighter and much stronger than cardboard and doesn’t need covering. And it looks lovely. And it wears very well, picking up a lovely patina. And it feels good. Yum.
I’ve made them in batches of two or three, and the total cost per book is about £4. This is cheaper than most sketch-books you can buy. But money can’t buy a sketchbook thatyou’ve made, with the mix of papers you love, between wood covers that work as a drawing board. If you’ve got any questions, comments, or suggestions please email me, mostlydrawing@gmail.com
To work… There are three main parts to the recipe: making the sketchbook interior, making the cover, then fitting them together. The first part would be the same if you were just ‘reloading’ a cover from an old diary/book etc, as I’ve mostly done in the past. It’s the second two parts that are a bit different…
You will need:
- Paper of choice
- 2mm plywood
- 8cm wide Book tape
- PVA glue
- Tools (sharp knife, ruler, G-clamps, etc.)
1 – Fold your chosen papers into folios (fancy word for piece of paper folded in half) and gather them into signatures, about 4 or 5 folios per signature. I use Saunders and Waterford ‘high white’ watercolour paper, and 2 shades of Mi Teintes pastel paper.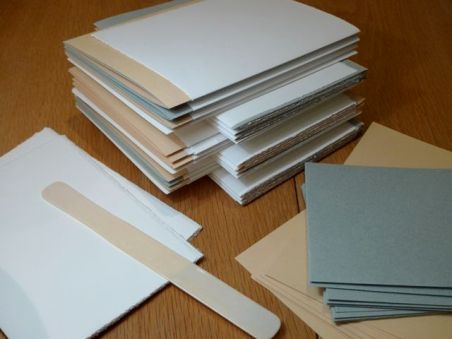

2 – Cut the signatures to size; my sketchbooks are about A5, or 6×8 inches. Very very very sharp knives are safer to use as you don’t have to press so hard, but they are very very very sharp…

3 – Sew the signatures together. I’m not going to how you how to do this as it’s very well explained in different ways here and here and here. It can look complicated but isn’t, and it’s the key to perfect bespoke sketchbook freedom! If I can do it you can.
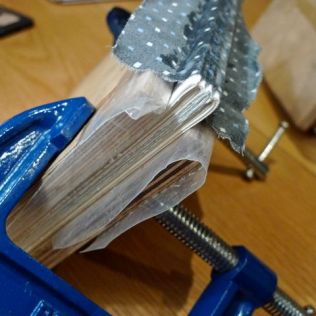
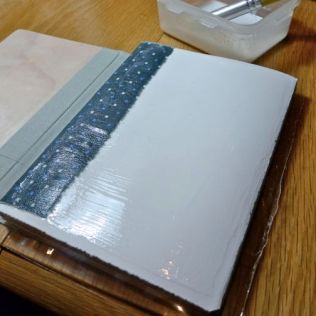
4– Once you’ve sewn the signatures together you can now glue the mull (any strong, un-stretchy fine cloth) into place along the spine using PVA glue. I clamp the book between two thick pieces of plywood to hold it all tight to ensure a tight binding. Make sure the mull is properly saturated in the glue, which dries into a clear pliable plastic. The glued mull works with the sewn thread to hold the signatures together in a strong but highly flexible binding, and makes the key structural link between the binding and the covers.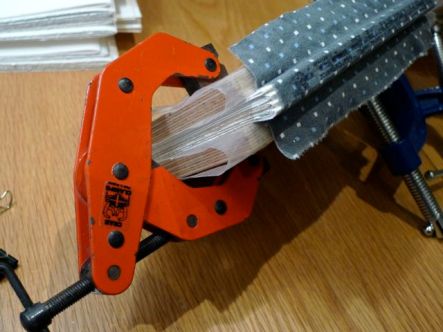
5 – The clamps hold the signatures together while the glue dries. Once it’s dry you have a sketchbook that just needs covers. You’ll glue the rest of the mull onto the paper when you attach the covers.

5 – The clamps hold the signatures together while the glue dries. Once it’s dry you have a sketchbook that just needs covers. You’ll glue the rest of the mull onto the paper when you attach the covers.
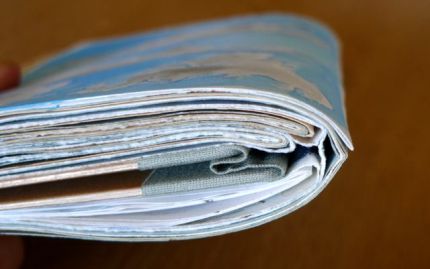
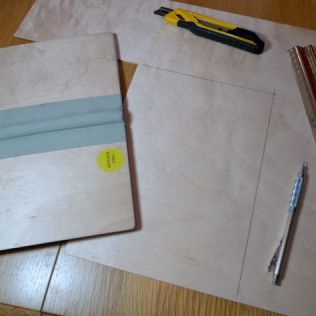
6 – Now make the cover… Cut the 2mm plywood to make the 2 cover sheets, about 7mm less wide than the signatures; this gap, and the absence of any external ‘spine’, allows the covers to fold right back.
7 – Sand the cover sheets to remove the sharp edges and corners. Use very fine wet/dry paper at the end. I don’t oil or varnish the wood as I’m happy with the matt finish gathering a patina of wear and tear.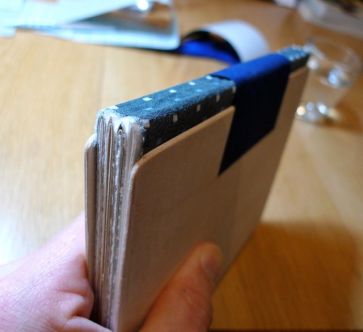

8 – Use tape to hold the cover sheets in what will be their final position on the sewn and mulled book, but not too tight. Then lay the cover sheets flat on the table, still attached by the tape that is keeping them the correct distance apart, and use book tape to attach them to each other. You wrap the tape completely around, forming a very strong and flexible link between the covers.

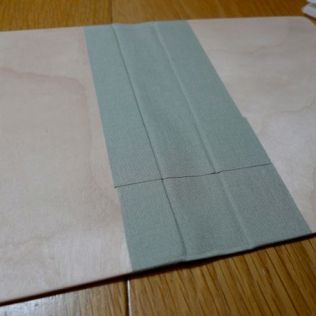
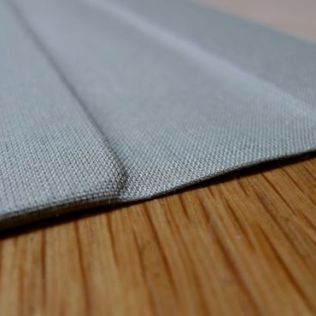
9 – Make sure the book tape overlaps to make a strong binding, and use a blunt edge to push the tape together all around the covers. The first of the two photos below shows the inside of the covers, where the overlap is visible. The second photo shows the tape on the outside of the cover, pressed down around the corners.
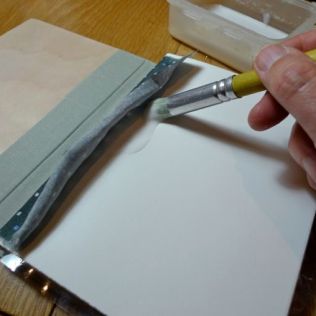
10 – Put a sheet of polythene under the top sheet of the bound pages; this stops moisture from the glue buckling the paper pages while it’s drying. Then spread glue on the end sheets to glue the mull down, but DON’T GLUE ALONG THE SPINE! STOP ABOUT 7MM SHORT OF THE EDGE OF THE SPINE. This allows the book-tape to move freely around the spine, and the finished book to open fully. Then spread glue over the entire page. Press the wooden cover sheet into place. Repeat on the other side, ensuring the book tape has a snug fit along the spine of the book, and place the whole thing under heavy weights for as long as you can stand (24 hours at least).
Your work here is done.
Now you can flaunt your fine bespoke sketchbook in front of an awestruck public as you sketch around town. Or lurk in shadowy corners like I do…




Sem comentários :
Enviar um comentário
Nota: só um membro deste blogue pode publicar um comentário.